
Waterbird Productions
| |
The Making of SUPER BATTLESUIT X-1
| I created a new project and brought in my background footage. Next, I brought in the robot footage and placed this above background clip. I then used Color Difference to remove the green. Spill Suppression to clean up the green reflecting on the robot A freehand mask to remove the unwanted surface that the robot walked on And finally a Grade filter to clean up the footage and make the clips blend better together. There was some more tweaking here and there to get a decent effect, but this gives you an idea of how the effect was achieved. Composting is an art form and no two projects are going to be exactly the same. I'm still learning and figure I'll get better each time. The FxHome website has some great tutorials on compositing. |
Back
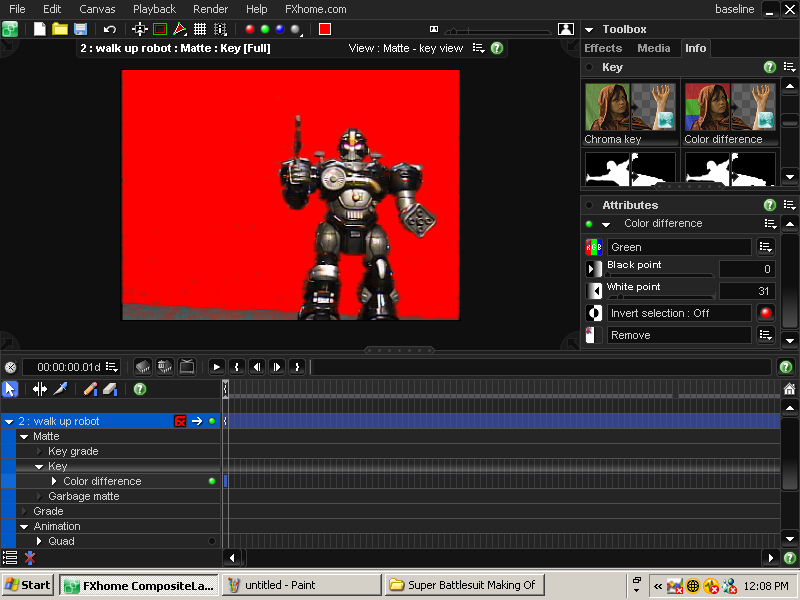
Color difference example
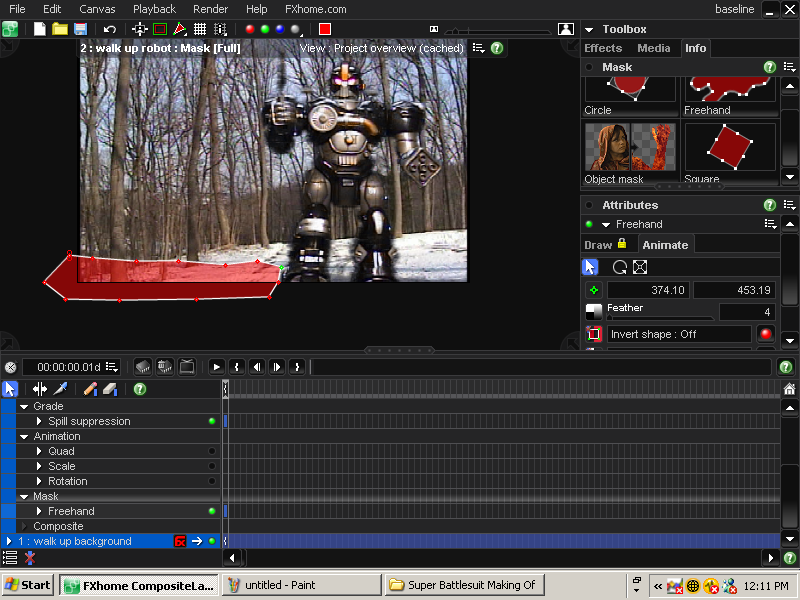
Freehand mask example
| The fire, smoke, and explosions were all stock footage that I purchased from Detonation Films. The process of adding this to the movie was very straight forward. In most cases, I simply dropped the effect into my project using Composite = Add and then sized the footage using the Scale function. There are several tutorials that cover this on the FxHome website. The only challenge that I faced in my project was that I chose to film on a snowy day that resulted in the background layer being very light in tone. Since fire and explosions are light sources they don't always show up well against bright backgrounds. In most cases, this could be corrected by darkening the background footage. |
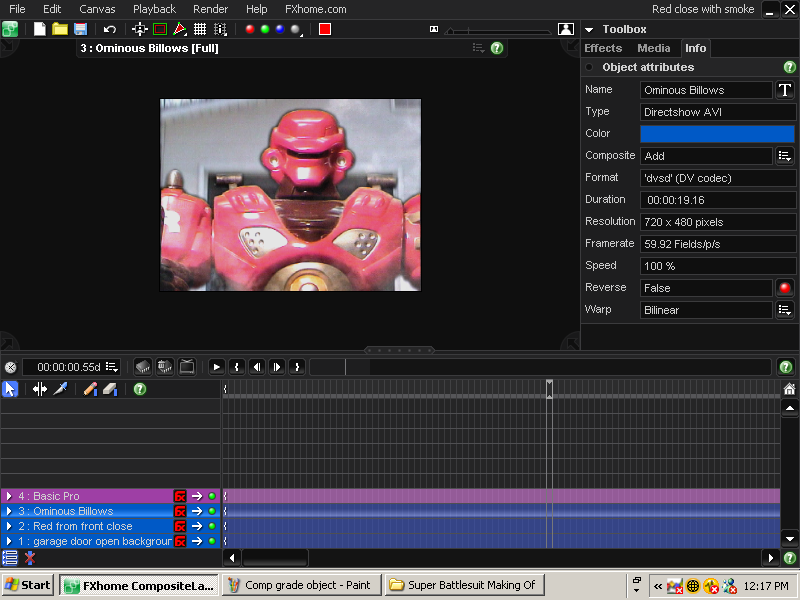
Stock footage example
| Most of the effects work done in EffectsLab Pro was muzzle flashes for the robot guns. I used nothing but presets for this project. Meaning, the pre-configured effects that come with the product. I simply loaded my footage and dragged the preset where I wanted it to be. Then, I set the duration and tweaked the settings until I got the desired timing for the effect. Again, there are lots of tutorials at FxHome to cover this so I won't go into too much detail here. |
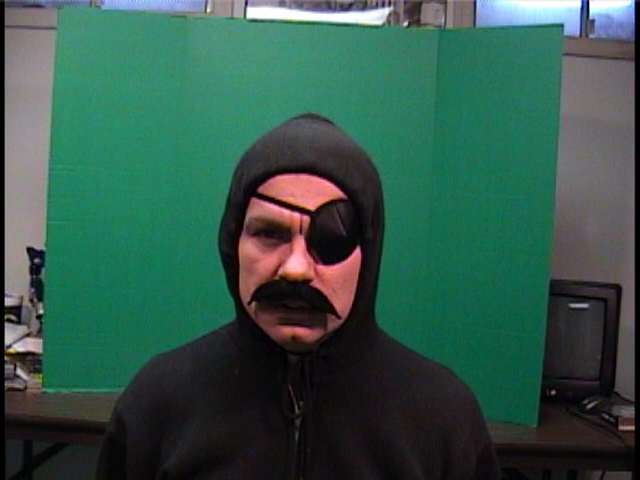
Franz in front of green screen
Heads up graphic for Franz
| My advice for using FxHome is simple; read the manual, watch the tutorials, experiment with the product, and join the forums at FxHome. The live action stuff was also straightforward. I removed the work bench and sat on my knees in front of the green screen. I could have gotten better results using my high quality green screen and brighter lights, but I was lazy and didn't feel like setting all of that up. The overlays for the 'heads up' displays were created using Microsoft Visio. These were simple shapes against a green background. All elements were combined rather quickly in Composite Pro using many of the techniques described above. |
| The jet footage was from the Internet Archive (www.archive.org). This is an amazing site where you can find all kinds of great footage absolutely free (and royalty free). I searched on 'jet' and found numerous clips. The majority of the footage came from an Air Force recruitment video from a few years back. The only problem that I had with the footage was that it was in letterbox format and my film was not. I was able to correct this in CompositePro by enlarging the scale of the footage. Basically, zooming in past the letterbox until the unboxed footage filled the screen. I then added the Basic Pro Grade object to the footage and saved it as a new AVI file. I use an older video editing system, Pinnacle 9. It's been great and mostly stable. The music and sound effects were from Smartsound (which I already owned). I recorded the narration and pilots voice using a Sony microphone hooked into my computers soundboard. All totaled, the entire project probably took about a week to film and complete. In terms of budget, the robots were about five bucks a piece, the eyepatch and fake moustache probably about six dollars, and the project board was under five. So the budget was roughly 20 bucks. |